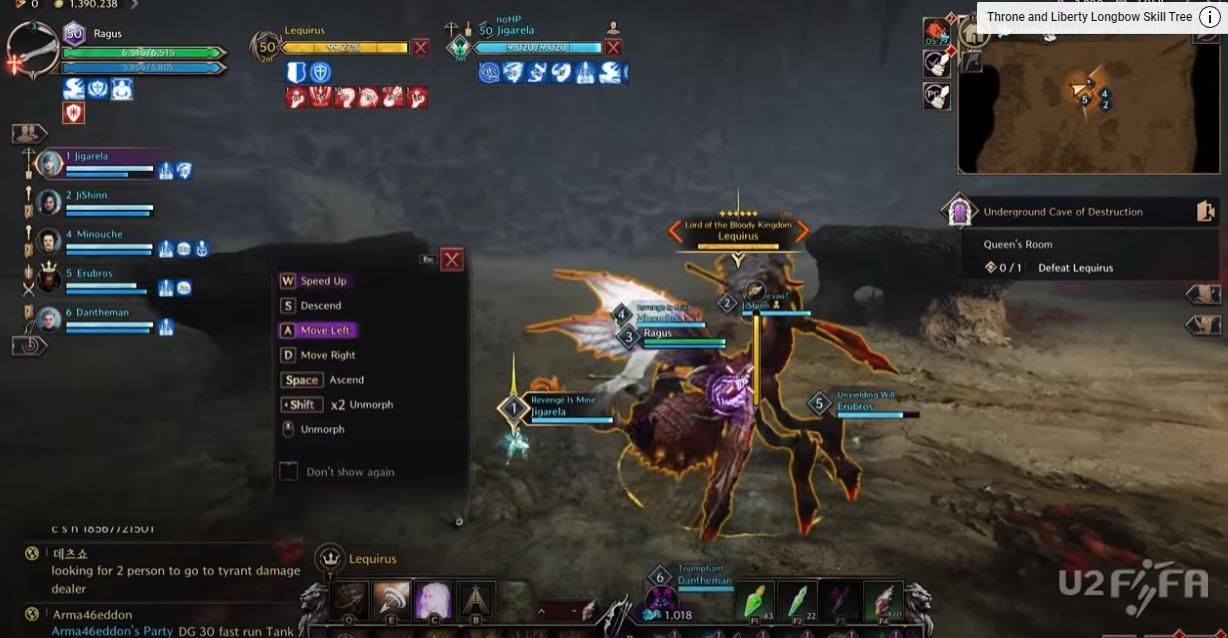
Conquering the Level 50 Dungeo in Throne and Liberty: Cave of Destruction

The Holy Trinity: Tank, Healer, and DPS
Before diving into the details, it’s crucial to remember the importance of the Holy Trinity in any dungeon: the Tank, Healer, and DPS (Damage Per Second).
· Tank: Pulls and holds aggro, absorbing the majority of the damage.
· Healer: Keeps the tank and the rest of the party alive.
· DPS: Focuses on dealing damage to enemies.
While it's technically possible to run a dungeon without a tank, it's highly discouraged as it introduces unnecessary complications.
Starting the Fight
Every battle begins with the tank pulling aggro. If the tank fails to hold aggro, reset the fight until they succeed. Proper aggro management ensures the fight runs smoothly.
Key Mechanic: Purple Circles
Throughout the fight, you’ll notice purple circles on the ground. These indicate a heavy attack is imminent. Block these attacks to mitigate damage. Although these attacks usually target the tank, it's a good practice for everyone to be prepared to block.
First Mechanic: Blue and Red Ants
The first major mechanic involves blue and red ants. Here’s how to handle them:
1. Identify Ants by Color or Name: If you struggle with colors, check the enemy's name in the top left corner of the default UI. It will read either "Blue Paralyzing Ant" or "Red Paralyzing Ant."
2. Kill the Correct Ant: Each ant gives a specific buff. Identify the safe zone color (either red or blue) and kill the corresponding ant to receive the appropriate buff. For example, if the safe zone is blue, kill the blue ant.
3. Positioning: If you have ranged abilities, you can stay within the safe zone and continue dealing damage. Otherwise, stay mobile and be ready to move to the safe zone when the text prompt appears above the boss's head.
Transition Mechanic: Rock Push
After the first mechanic, a rock will push you to the next area. To ensure you are transported with the group, stay in the center of the platform. If you miss the rock, you can survive by blocking, but it's usually fatal.
Second Mechanic: Giant Ant and Poison
Fly to the next area where a giant ant will spawn. The boss will continue attacking from a distance with poison, so deal with the ant quickly to minimize health loss from poison damage.
Repeating Mechanics
The mechanics will repeat:
· Watch for the safe zone colors.
· Ensure you kill the correct colored ant to receive the necessary buff.
· Stay vigilant and be ready to move as required.
Final Mechanic: Larvae
The final and most complex mechanic involves larvae:
1. Larvae Assignment: After the boss's catchphrase, larvae will spread to six players.
2. Normal and Collecting Larvae: Six players will get normal larvae that will explode, while two players need to collect the larvae from others.
3. Collection Process: The collectors should move towards other players to gather their larvae. Once collected, the two players with larvae should move away from the group to avoid causing additional explosions.
Example
As shown in the video, the collectors walk around to gather the larvae. After collecting, they move away from the group to avoid the explosion affecting others.
Conclusion
That wraps up our guide on the Cave of Destruction! If you follow these strategies, you'll be well-equipped to conquer this dungeon.
Additional Tips
· Stay Alert: Constantly watch for visual and text cues to react appropriately.
· Communication: Keep in touch with your team to ensure everyone is aware of their roles and responsibilities.
· Practice: It may take a few attempts to get the mechanics down, so don’t get discouraged.
· Finally, whether you are a novice or an old hand, if you want to complete the task easily, it is a good choice to buy TL Lucent in exchange for powerful weapons and equipment through MMOexp. At the same time, MMOexp has the advantages of high transaction efficiency and more discounts compared with other platforms.
